
操作系统:CentOS Linux release 7.8.2003 (Core)
1. Git安装
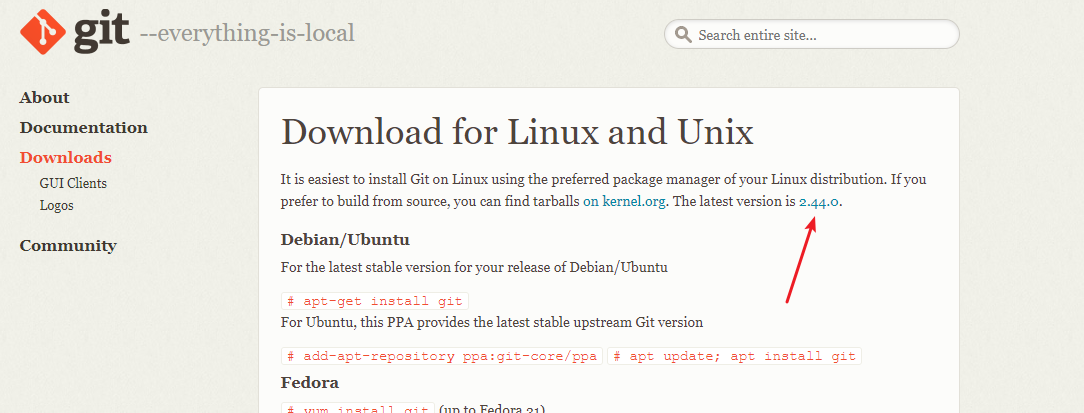
1.1. 从官网下载安装包
https://git-scm.com/download/linux
~]# wget https://mirrors.edge.kernel.org/pub/software/scm/git/git-2.44.0.tar.gz
1.2. 解压安装包
~]# tar -zxvf git-2.44.0.tar.gz
1.3. 安装编译环境
~]# yum install curl-devel expat-devel gettext-devel openssl-devel zlib-devel gcc perl-ExtUtils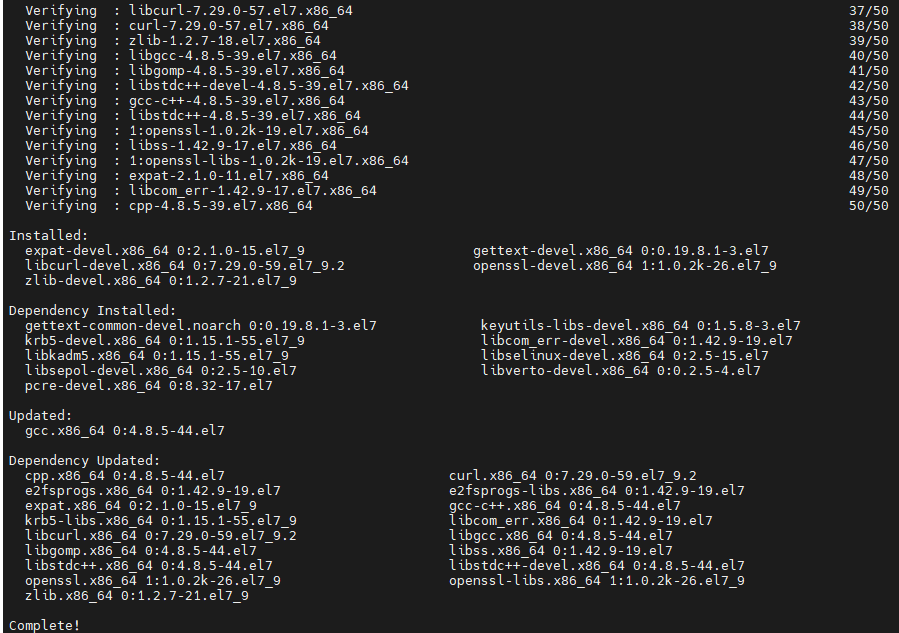
安装上面编译环境的时候,yum自动帮你安装了git,这时候你需要先卸载这个旧版的git。否则还是一个老版本!
~]# git --version
~]# yum remove git
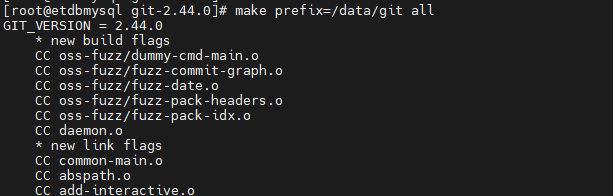
1.4. 编译源码
进入刚刚解压的git文件夹中
~ git-2.44.0]# make prefix=/data/git allprefix里面填你想要放的文件夹位置
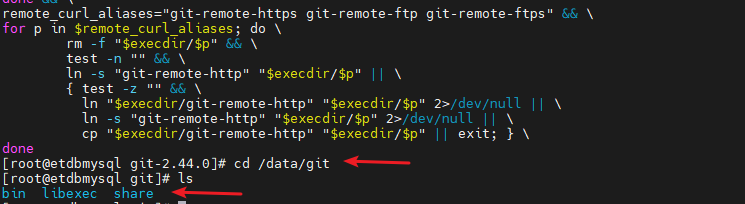
1.5. 安装git
~ git-2.44.0]# make prefix=/data/git install这个时候一定要在git解压的文件夹下执行,否则会报错。
1.6. 配置环境变量
~]# vim /etc/profile
# 在文件末尾增加如下内容
export GIT_HOME=/data/git
export PATH=$GIT_HOME/bin:$PATH
刷新配置文件
~]# source /etc/profile
~]# git --version
2. 服务器端创建 git 仓库
2.1. 新建一个git用户
# 创建git账户
~]# useradd git
# 设置git账户密码,需要连续输入两次密码
~]# passwd git
# 查看git账户是否创建成功
~]# cd /home
ls -all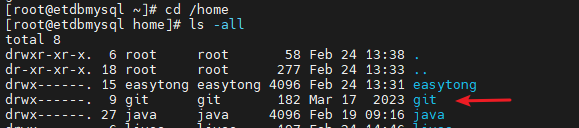
2.2. 创建Git仓库
~]# cd /data/git
# 创建仓库目录
~]# mkdir studyRepo
# 将目录studyRepo设置成git仓库
~]# git init --bare ./studyRepo
# 把 Git 仓库的 owner 修改为 git
~]# chown -R git:git studyRepo/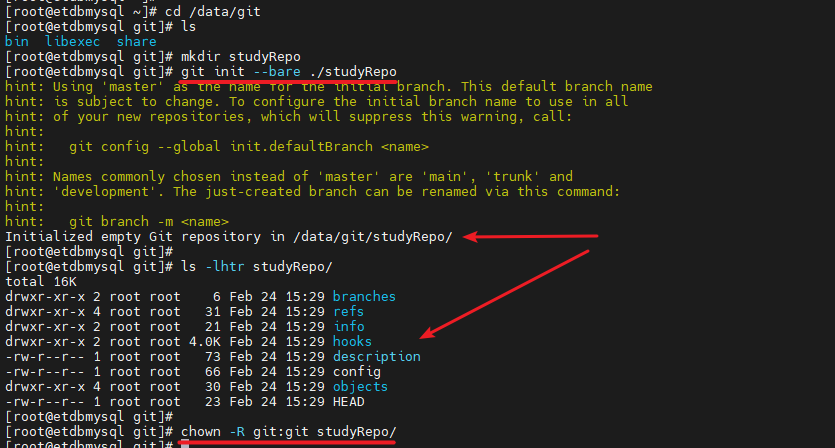
3. git 客户端访问服务端
首先在客户端上安装git(略)
3.1. 创建本地仓库目录
git clone git@172.16.5.74:/data/git/studyRepo从远程仓库克隆项目时报错了:
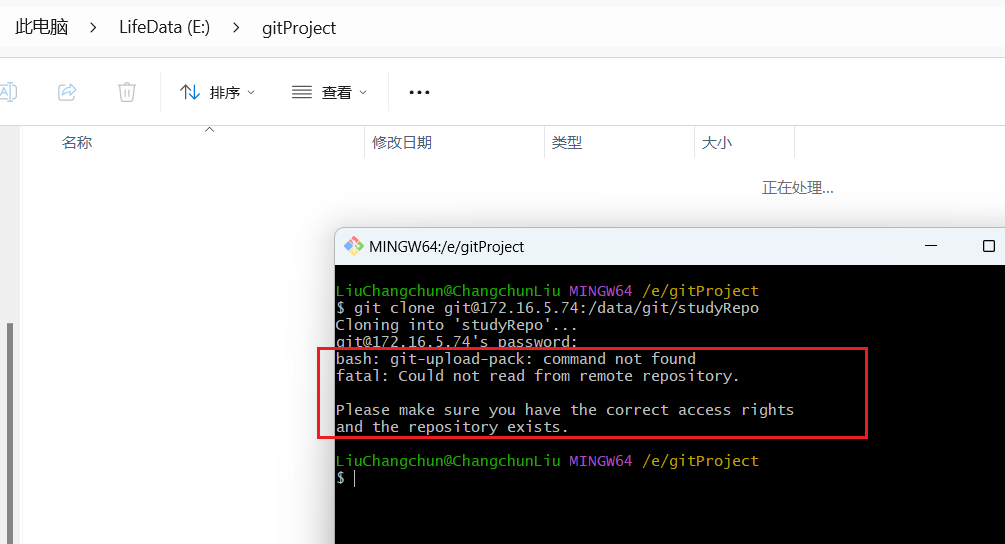
报错原因是远程服务器git安装路径是/data/git,不是默认路径,根据提示,应该在git服务器上建立链接文件
~]# ln -s /data/git/bin/git-upload-pack /usr/bin/git-upload-pack
~]# ln -s /data/git/bin/git-receive-pack /usr/bin/git-receive-pack
重新克隆项目成功:

3.2. 客户端上传新文件
touch new-file.txt
echo "file to git manage" > new-file.txt
git add .
git status
git commit -m "提交变更"
git push
附录
附录A. 相关联的文章
附录B. 参考
附录C. Centos7更换yum国内源
mv /etc/yum.repos.d/CentOS-Base.repo /etc/yum.repos.d/CentOS-Base.repo.backup
#阿里源(推荐):
wget -O /etc/yum.repos.d/CentOS-Base.repo http://mirrors.aliyun.com/repo/Centos-7.repo